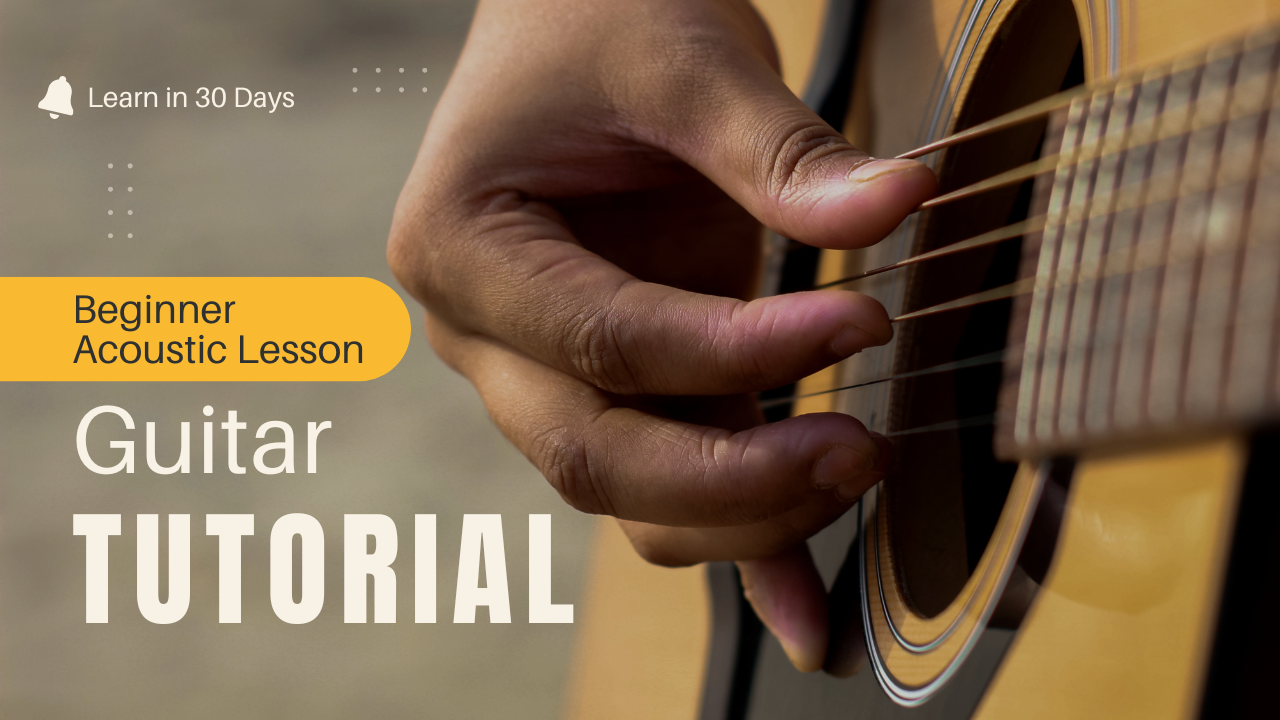
Learning guitar is one of the most enjoyable skills you can develop. It allows you to play your favourite songs, express your emotions, entertain friends and even create your own music. However, when you are a complete beginner, the guitar can feel confusing. You may not know where to place your fingers, how to tune the strings or what you should practise first. The good news is that you do not need to be naturally talented to learn guitar. You only need the right learning path, regular practice and enough patience to keep going when something feels difficult. Every experienced guitarist was once a beginner who struggled to play their first chord. Your fingers may hurt at first, some chords may sound unclear and changing between chords may feel slow. These problems are completely normal. With consistent practice, your hands will become stronger, your fingers will move more naturally and your playing will gradually improve. This guide will show you how to learn guitar step by step as a complete beginner. Step 1: Choose the Right Guitar Before you start learning, you need a guitar that feels comfortable and suits the type of music you want to play. The three most common types of guitars are acoustic, classical and electric guitars. An acoustic guitar has steel strings and produces a bright, natural sound. It is commonly used for pop, folk, Bollywood, country and singer-songwriter music. You do not need an amplifier to play it, which makes it a convenient option for beginners. A classical guitar has nylon strings, which are softer than steel strings. It usually has a wider neck and produces a warm sound. It is suitable for classical music, fingerstyle and soft melodies. Nylon strings may feel more comfortable for beginners, although the wide neck can make some chords difficult. An electric guitar normally has lighter strings and a thinner neck. This can make it easier to press the strings and play notes. However, you will usually need an amplifier and cable to hear the complete sound. There is no single guitar that is perfect for every beginner. Choose one based on your budget, comfort and musical interests. You do not need an expensive guitar when you are starting. A properly set up beginner guitar is enough for learning basic chords and songs. Before buying, check whether the guitar is comfortable to hold, whether the strings are too high from the fretboard and whether the tuning pegs work properly. Step 2: Learn the Basic Parts of the Guitar Understanding the basic parts of your guitar will make future lessons easier. The main body is the large section of the guitar. On an acoustic guitar, the sound hole is located in the centre of the body. The long section connected to the body is called the neck. The flat surface on the neck is called the fretboard. The metal lines across the fretboard are called frets. You press the strings between these metal lines to create different notes. At the top of the guitar is the headstock. It contains the tuning pegs, which are used to tighten or loosen the strings. Most guitars have six strings. When you hold the guitar in the playing position, the thickest string is at the top and the thinnest string is at the bottom. From the thickest string to the thinnest string, standard guitar tuning is: E, A, D, G, B and E. Try to remember the string names because you will use them regularly while tuning, practising chords and learning scales. Step 3: Learn How to Hold the Guitar Properly Good posture makes playing more comfortable and prevents unnecessary pain. Sit on a chair with your back straight and both feet placed comfortably on the floor. Avoid sitting on a bed or sofa while learning because it may affect your posture. If you are right-handed, rest the guitar body on your right leg. Place your right arm over the body and use your left hand to hold the neck. If you are left-handed and using a left-handed guitar, do the opposite. Keep the guitar close to your body without squeezing it. Your shoulders should remain relaxed. Avoid bending your wrist too much while pressing the strings. The thumb of your fretting hand should usually stay behind the guitar neck. This gives your fingers more freedom to reach the strings. Your fingers should remain slightly curved so that each fingertip presses only the required string. Poor posture can make simple chords feel more difficult. Therefore, take a few seconds to correct your position before every practice session. Step 4: Tune Your Guitar Before Practising A guitar must be properly tuned before you play it. Even if you press every chord correctly, an out-of-tune guitar will sound unpleasant. The easiest way for a beginner to tune a guitar is by using a clip-on tuner or a mobile tuning application. Play one string at a time and check the note shown on the tuner. Turn the correct tuning peg slowly until the tuner shows that the string has reached the correct note. The six strings should be tuned to E, A, D, G, B and E, starting from the thickest string. Always turn the tuning pegs carefully. Tightening a string too much can cause it to break. It is also important to tune your guitar before every practice session because strings can slowly lose their tuning. Learning to identify an out-of-tune guitar by ear will come later. In the beginning, using a digital tuner is completely fine. Step 5: Learn How to Read Chord Diagrams Chord diagrams show you where to place your fingers on the fretboard. The vertical lines in a chord diagram represent the guitar strings, while the horizontal lines represent the frets. The dots show where your fingers should be placed. An “X” above a string means that you should not play that string. An “O” means that the string should be played open without pressing it. Finger numbers are usually written like this: Index finger: 1Middle finger: 2Ring finger: 3Little finger: 4 When reading a chord diagram, carefully check which string, fret and finger you need to use. Place your fingers just behind the metal fret instead of directly on top of it. This helps you produce a clear sound with less pressure. Step 6: Start With Easy Open Chords Chords are groups of notes played together. Most beginner songs can be played using a small number of open chords. Good chords to learn first include: E minor A minor C major G major D major E major A major Start with E minor because it is one of the easiest guitar chords. Once you can play it clearly, move to A minor, D major and the other basic chords. Do not try to learn ten chords in one day. Focus on one or two chords at a time. Place your fingers in the correct position and play each required string slowly. Listen carefully to every string. If a string sounds muted or makes a buzzing noise, check your finger position. Your finger may be touching another string by mistake. You may also need to press closer to the fret or apply slightly more pressure. Remove your hand, relax for a moment and create the chord again. Repeating this process helps your fingers remember the shape. Step 7: Practise Changing Between Chords Learning individual chords is only the beginning. To play songs, you must be able to move from one chord to another smoothly. Choose two chords, such as E minor and C major. Create the first chord, play it once and then move to the second chord. Do this slowly without worrying about speed. Try to move all your fingers together instead of moving one finger at a time. At first, this may feel impossible, but your hand will gradually remember each shape. You can use a one-minute chord-changing exercise. Set a timer for one minute and count how many correct changes you can make between two chords. Focus on clean chords instead of rushing. Repeat the exercise daily and record your score. You may start with five or ten changes, but the number will improve with practice. Practise common chord combinations such as: G to CC to DA minor to CE minor to GD to AA to E These combinations appear in many popular songs. Step 8: Learn Basic Strumming Strumming gives rhythm to your chords. You can strum with your fingers or use a guitar pick. Hold the pick gently between your thumb and index finger. Only a small part of the pick should remain visible. Do not hold it too tightly because this can make your hand stiff. Start by practising downstrokes. Create an easy chord and move the pick downward across the strings. Keep your wrist relaxed and let the movement come mainly from your wrist rather than your entire arm. Once your downstrokes feel comfortable, practise upstrokes by moving the pick upward across the strings. Count slowly: One, two, three, four. Play one downstroke on every count. This teaches you how to maintain a steady beat. After that, try alternating downstrokes and upstrokes. A basic pattern could be: Down, down, up, up, down, up. Practise the movement slowly before adding chord changes. Your goal is to keep the rhythm steady even if you make a small mistake. Step 9: Use a Metronome A metronome produces a regular clicking sound that helps you stay in time. Many beginners ignore rhythm because they are focused on chord shapes. However, playing the correct chords with poor timing will not make a song sound right. Start your metronome at a slow speed, such as 50 or 60 beats per minute. Play one strum with every click. Once you can do this comfortably, try playing two strums per click or using a simple strumming pattern. Do not increase the speed too quickly. If you cannot play something correctly at a slow speed, playing faster will usually make the mistakes worse. Slow and accurate practice helps you develop control. Speed comes naturally after the movement becomes familiar. Step 10: Learn a Few Easy Songs Playing songs is one of the best ways to stay motivated. You do not need to wait until you know every chord or technique. Choose songs that use two, three or four basic chords. Search for simplified beginner versions instead of trying to play the exact original arrangement immediately. Start by learning the chord progression. A chord progression is the order in which the chords appear. Practise changing through the progression without singing. Once you can maintain the rhythm, try playing along with the song at a slower speed. Do not stop every time you make a mistake. Continue playing and return to the rhythm. This is an important skill because musicians must learn how to recover while performing. Select songs that you genuinely enjoy. Practising a favourite song is more exciting than practising random exercises for hours. Step 11: Learn Basic Guitar Tabs Guitar tablature, commonly called guitar tabs, is a simple system used to show melodies, riffs and individual notes. Tabs use six horizontal lines to represent the six guitar strings. Numbers written on the lines tell you which fret to press. For example, the number 3 means that you should press the third fret of that string. The number 0 means that you should play the string open. Tabs are easier for many beginners than traditional music notation. They can help you learn simple melodies, introductions and famous guitar riffs. However, tabs do not always show rhythm clearly. Listen to the original song while reading the tab so that you understand when each note should be played. Start with short melodies that use one or two strings. This will improve your finger control and help you become familiar with the fretboard. Step 12: Develop Finger Strength and Independence Your fingers may feel weak when you begin. You may find it difficult to press the strings or move each finger separately. Simple finger exercises can help. One popular exercise is the 1-2-3-4 exercise. Place your index finger on the first fret, middle finger on the second fret, ring finger on the third fret and little finger on the fourth fret. Play each note slowly, then move to the next string. Keep every movement controlled and use alternate picking if possible. Do not stretch your fingers aggressively. Stop if you feel sharp pain. Mild discomfort and tiredness can be normal, but severe pain is not. Your fingertips may also feel sore during the first few weeks. Short daily sessions are better than one extremely long session. Over time, your fingertips will develop harder skin, making the strings more comfortable to press. Step 13: Follow a Simple Practice Routine You do not need to practise for several hours every day. A focused practice session of 20 to 30 minutes can produce good results when done regularly. A simple 30-minute routine could look like this: Spend five minutes tuning the guitar and warming up your fingers. Spend five minutes reviewing the chords you already know. Spend five minutes practising chord changes. Spend five minutes working on strumming with a metronome. Spend ten minutes learning or playing a song. You can adjust the routine depending on your goals. The important thing is to practise different skills instead of playing the same easy song every day. Practising for 20 minutes six days a week is usually more effective than practising for two hours only once a week. Regular practice helps your brain and fingers remember what you learned. Step 14: Record Your Playing Recording yourself is a useful way to measure your progress. Use your phone to record a short video or audio clip once a week. Play a chord progression, exercise or song that you are currently learning. When you listen to the recording, you may notice timing problems, unclear chords or pauses that you did not notice while playing. Do not feel embarrassed by your early recordings. Keep them so that you can compare your playing after one or two months. Seeing your improvement can provide strong motivation. You can also maintain a simple practice notebook. Write down the chords, songs and exercises you practised. Record any problems you experienced and what you want to work on next. Step 15: Avoid Common Beginner Mistakes One common mistake is trying to learn too many things at once. Beginners often jump between chords, scales, solos, fingerstyle and music theory without becoming comfortable with any of them. Follow a clear order. Learn basic chords, chord changes, rhythm and easy songs before moving to difficult techniques. Another mistake is playing too fast. Slow practice may feel boring, but it helps you develop clean movements and good habits. Some beginners also press the strings harder than necessary. Use enough pressure to create a clear note, but do not squeeze the neck tightly. Avoid comparing your progress with experienced players or short videos on social media. You may only be seeing someone’s best performance after years of practice. Your progress should be compared with your own previous performance. Step 16: Stay Patient and Consistent Guitar improvement is not always smooth. Some days you will feel confident, while on other days even easy chords may feel difficult. Do not judge your progress based on one practice session. In the beginning, focus on small achievements. Your first clear chord is progress. Your first smooth chord change is progress. Playing one complete song without stopping is a major achievement. Set realistic goals such as learning three chords in one week, playing a simple song within one month or practising for at least 20 minutes each day. Celebrate these small victories because they will keep you motivated. You do not have to become a professional guitarist to enjoy playing. The main goal is to improve gradually and enjoy the learning process. Conclusion Learning guitar as a complete beginner becomes easier when you follow a clear step-by-step process. Start by choosing a comfortable guitar and learning how to hold and tune it. Understand chord diagrams, practise easy open chords and slowly develop your chord-changing ability. Once you know a few chords, work on basic strumming, rhythm and timing. Use a metronome, learn easy songs and practise simple guitar tabs. Add finger exercises to improve strength and coordination. Most importantly, practise regularly. Even 20 to 30 minutes of focused daily practice can make a noticeable difference. Your chords may not sound perfect in the beginning, and your fingers may take time to adjust. That is part of the learning process. Be patient, avoid rushing and continue practising one small skill at a time. With consistency, the movements that once felt difficult will become natural. Before long, you will be able to play complete songs, understand basic guitar techniques and enjoy making music on your own.
![[ENG] Learn Guitar in 2 Months (Sayontan Sir)](https://guitardojo.in/wp-content/uploads/2026/07/ChatGPT-Image-Jul-5-2026-02_38_21-PM-1.png)

![[ENG] Learn Guitar in 4 Months](https://guitardojo.in/wp-content/uploads/2026/06/ChatGPT-Image-Jun-15-2026-04_34_13-PM-1.png)